Getting started
Create your account, secure it, and get to your first scan. Most teams are scanning the same day they sign up.
1. Create your account
Sign up at app.simplesec.ai. Signup is self-serve and starts a 7-day full-Pro trial — every feature unlocked, no credit card required to begin. If a colleague invited you instead, open the invite link from your email and set a password there.
2. Verify your email
After signing up you'll get a verification email. Click the link to confirm your address. You must verify before you can launch a scan — it's one of the gates the platform enforces on every run.
Use your work email. SimpleSec is built for teams testing their own organization or their clients, and your domain becomes part of how access and notifications are scoped.
3. Set up multi-factor authentication
Open Settings and enroll an authenticator app (TOTP). MFA is strongly recommended for every account and is required for invited users — they're walked through enrollment on first login. Because SimpleSec stores sensitive evidence like captured credentials, treat account security as non-negotiable.
4. Get to know the dashboard
The left sidebar is your map. The screens you'll use most:
- Overview — posture at a glance: active tests, open findings by severity, and what needs attention.
- Engagements — create and manage scoped testing projects. This is where most work begins.
- Assets — register the targets you're allowed to test.
- Tests / Scans — launch runs and watch them live in the console.
- Findings — triage results across all your engagements.
- Reports — export PDF and CSV deliverables.
- Settings — password, MFA, billing, API keys, and report branding.
The dashboard switches screens in place rather than changing the URL, so these docs refer to screens by name. Look for them in the left sidebar.
5. Configure your workspace
Before your first scan, a couple of quick setup steps in Settings pay off:
- Test email delivery — send a test message so run-completion and critical-finding emails reach you.
- Add a report logo — upload your logo for white-labeled PDF reports (handy for consultants delivering to clients).
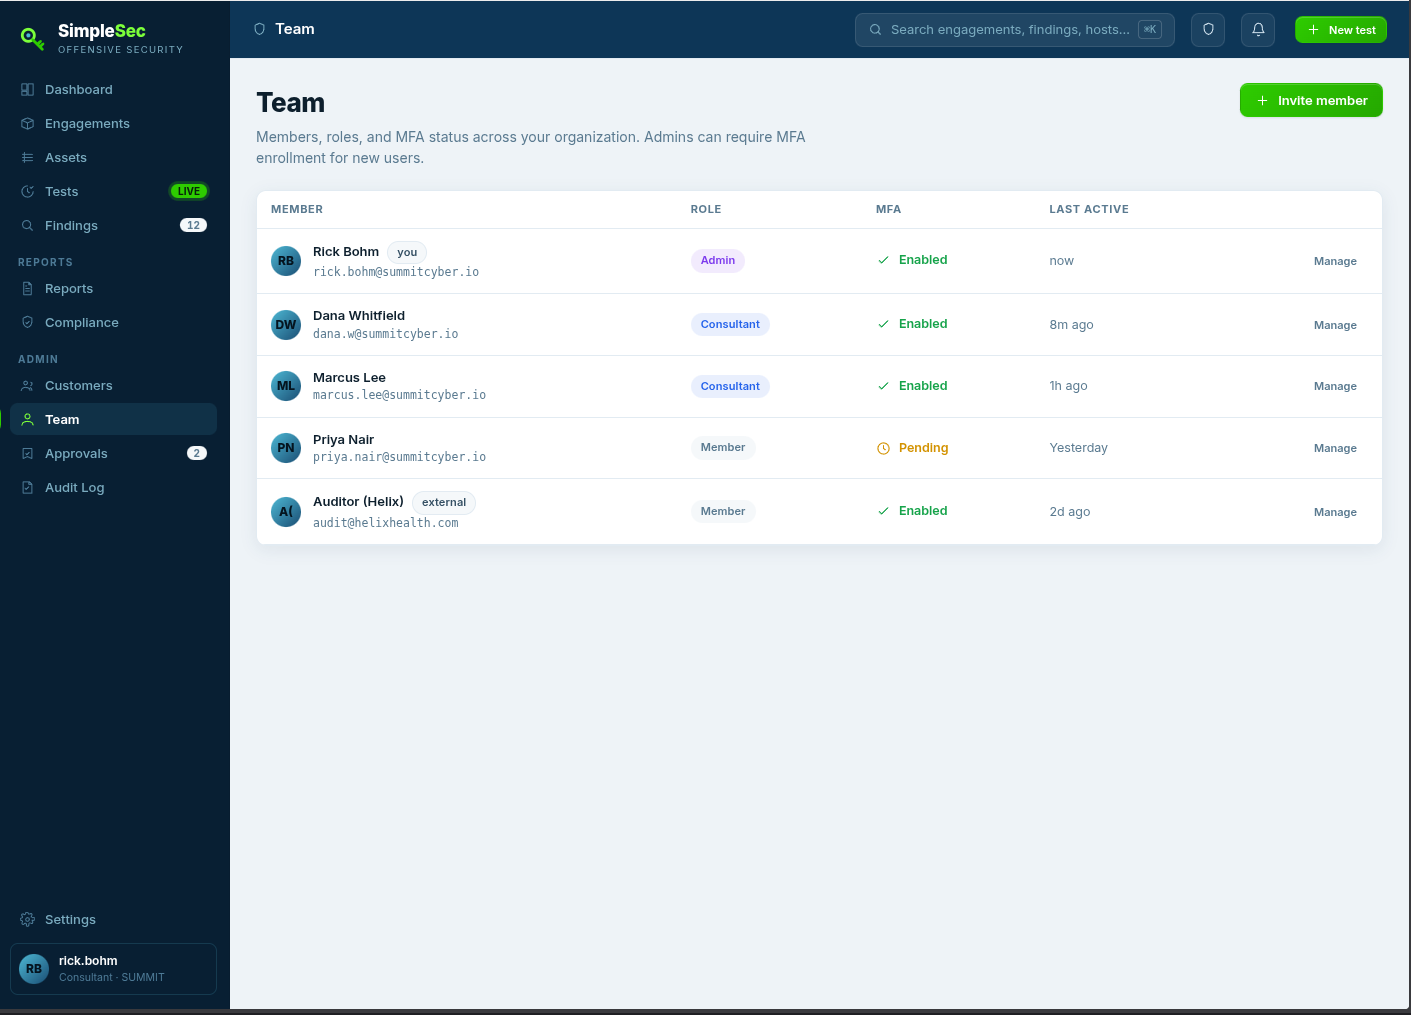
- Invite your team — from Team, send invites and assign roles. Invited users get MFA enforced automatically.
Your path to a first scan
From here the core workflow is three steps. The next guides cover each in detail:
- Create an engagement for what you're testing. (No need to register assets first — your first scan does that for you.) → Engagements & assets
- Launch a test against that scope and watch it run. → Running a scan
- Review findings and export a report. → Findings & reports