Engagements & assets
An engagement is a scoped testing project; assets are the targets inside it. Get these right and every scan stays inside the boundary you set.
What an engagement is
An engagement is the container for a body of testing work against one scope — a client, an environment, or a product. It holds the targets you're allowed to test, any authentication you've supplied, the network access method (for internal work), and the full history of tests you've run.
Engagements come in three types:
External
Internet-facing infrastructure — public IPs and hosts reachable from outside the network.
Web
A web application or API. The planner focuses on app-layer testing: injection, fuzzing, auth, and framework checks.
Internal
Targets inside a private network. Requires a connection method — see Internal network access.
Create an engagement
- Open Engagements and choose New engagement.
- Name it and pick a type — external, web, or internal. The type tunes which phases and tools the planner will use.
- Add authentication (optional). If the target needs credentials — a login for a web app, for example — store them in the engagement's auth config so the planner can test authenticated surface. Secrets are encrypted at rest.
- Attach network access (internal only). Upload a WireGuard config or deploy the agent so SimpleSec can reach the private network. Covered in its own guide.
Assets register themselves
An asset is a target — a host, IP, or web application. Here's the simple part: you don't have to register them up front. Point your first test at a target and SimpleSec registers it for you automatically (you'll see it tagged "Auto-registered from first test"). For most teams the asset step disappears entirely — you just run a scan.
Prefer to define them in advance? You still can. Open Assets, add each target, and give it a type (internal, external, or web). It's optional — handy when you want the list locked down before anyone runs a test, but never a required first step.
Once an engagement has assets — whether you added them or the first scan did — they become its allow-list. A later test aimed at a brand-new target won't run silently; SimpleSec flags it and asks you to add it first. That's the guardrail that stops an accidental scan of something you aren't authorized to test.
How scope works
When you launch a test you choose an engagement and the scope — the specific hosts that run is allowed to touch. On the very first scan those hosts seed the engagement's asset list. After that, each host in scope is checked against the list, so the workflow settles into:
- First scan: just type your target and go — it's registered automatically.
- Later scans: reuse a registered asset, or add a new one when you genuinely expand scope.
Because auth configs, network profiles, and captured evidence are all scoped to the engagement, nothing bleeds across clients or environments — each engagement is isolated.
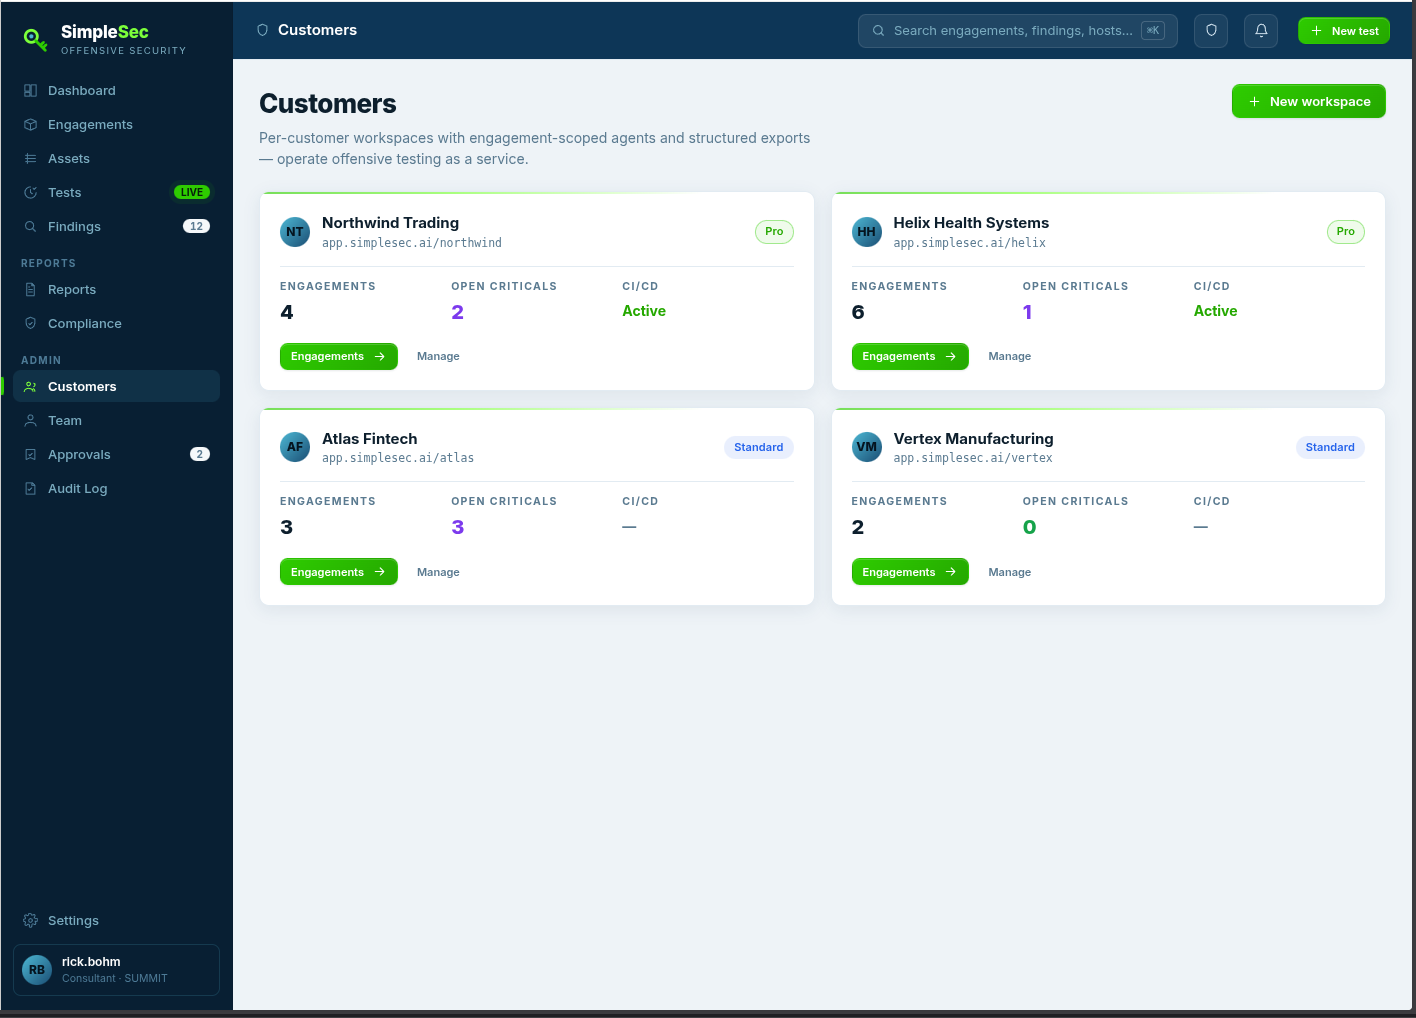
If you manage multiple clients, use the Customers screen to organize separate customer workspaces, each with their own engagements and CI/CD status. Evidence and credentials never cross customer boundaries.